Mac OS X : Pullprint - manual setup
From IThelp
To be able to print to UiB (PullPrint) printers from your own private computer, you need to be connected to Eduroam or VPN.
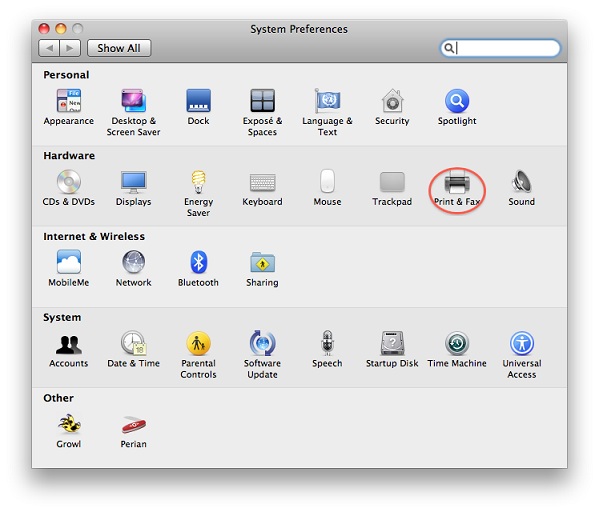
1. Enter "System Preferences" and choose "Print & Fax"/"Printers & Scanners" (or the like). 
2. Click "+" to add a new printer.
File:AddPrinter eng.jpg
3. Click the Advanced button. *
  * If you do not have an Advanced button, please do the following:
    Right-click/Ctrl-click the toolbar in the Add printer dialogue.
    Choose "Customize Toolbar".
    Drag the Advanced button, the one that looks like a cogwheel, to the toolbar.
4. Choose "LPD/LPR host or Printer", and remeber to give the URL (see below).
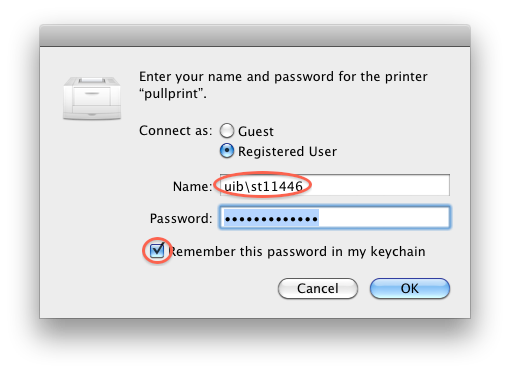
  lpd://username@pullprint.uib.no/pullprinthp (for HP printers)
  lpd://username@pullprint.uib.no/pullprinthp_ps (for HP printers with PS (Aobe PostScript) Support)
  lpd://username@pullprint.uib.no/pullprintricoh (for Ricoh printers)
  lpd://username@pullprint.uib.no/pullprintricoh_ps (for Ricoh printers with PS (Aobe PostScript) Support)
NB! It is important that you use your own username and not the word itself.
5. Go to "Select Software" and choose a proper driver.
6. Click "Add".
7.
See also Pullprint.

