Insync Linux: Difference between revisions
From IThelp
(Created page with "== Skaffe lisens til Insync OneDrive klienten for Linux == In order to use Insync for Linux beyond the 14-day trial you need a license. A license can be requested from the...") |
No edit summary |
||
| Line 11: | Line 11: | ||
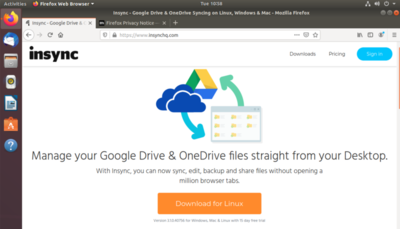
* '''1: Visit https://www.insynchq.com/ and select Download.''' | * '''1: Visit https://www.insynchq.com/ and select Download.''' | ||
[[ | [[File:Insynq_1.png|400px]] | ||
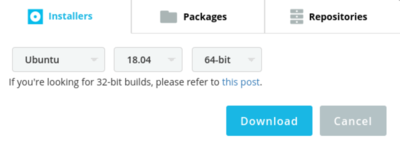
* '''2: Select Ubuntu, 18.04, 64 bit installers.''' | * '''2: Select Ubuntu, 18.04, 64 bit installers.''' | ||
[[ | [[File:Insynq_2.png|400px]] | ||
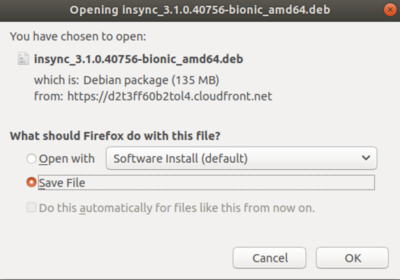
* '''3: Save the file where you can find it.''' | * '''3: Save the file where you can find it.''' | ||
[[ | [[File:Insynq_3.png|400px]] | ||
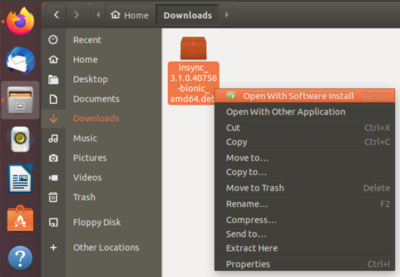
* '''4: Open the file with "Software Install".''' | * '''4: Open the file with "Software Install".''' | ||
[[ | [[File:Insynq_4.png|400px]] | ||
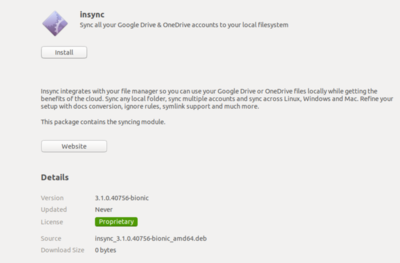
* '''5: Click "Install".''' | * '''5: Click "Install".''' | ||
[[ | [[File:Insynq_5.png|400px]] | ||
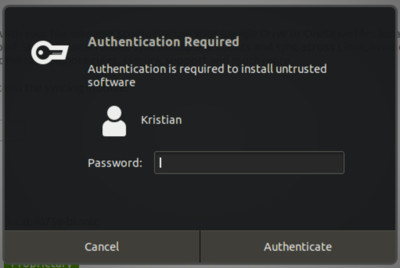
* '''6: Autenticate if needed''' | * '''6: Autenticate if needed''' | ||
[[ | [[File:Insynq_6.png|400px]] | ||
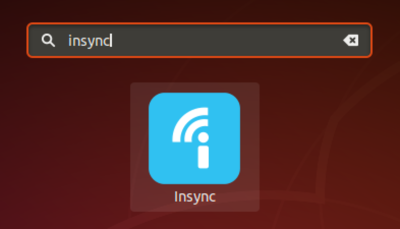
* '''7: Access and run the installed software.''' | * '''7: Access and run the installed software.''' | ||
[[ | [[File:Insynq_7.png|400px]] | ||
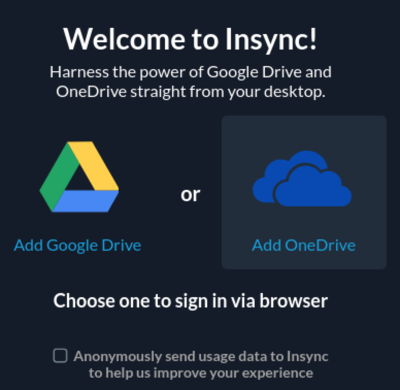
* '''8: Select "Add OneDrive".''' | * '''8: Select "Add OneDrive".''' | ||
[[ | [[File:Insynq_8.png|400px]] | ||
* '''9: Autenticate with ''firstname.lastname@uib.no''''' | * '''9: Autenticate with ''firstname.lastname@uib.no''''' | ||
[[ | [[File:Insynq_9.png|400px]] | ||
* '''10: Enter your regular UiB-password.''' | * '''10: Enter your regular UiB-password.''' | ||
[[ | [[File:Insynq_10.png|400px]] | ||
* '''11: Click "Accept" if you are alarmed that software requires rights.''' | * '''11: Click "Accept" if you are alarmed that software requires rights.''' | ||
[[ | [[File:Insynq_11.png|400px]] | ||
* '''12: You are now ready to synchronise your OneDrive.''' | * '''12: You are now ready to synchronise your OneDrive.''' | ||
[[ | [[File:Insynq_12.png|400px]] | ||
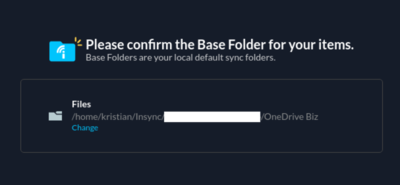
* '''13: Name the path where you'd like OneDrive to sychronise files.''' | * '''13: Name the path where you'd like OneDrive to sychronise files.''' | ||
[[ | [[File:Insynq_13.png|400px]] | ||
Latest revision as of 10:17, 11 May 2020
Skaffe lisens til Insync OneDrive klienten for Linux
In order to use Insync for Linux beyond the 14-day trial you need a license.
A license can be requested from the IT-Department through https://help.uib.no
This particular license is made with your firstname.lastname@uib.no mail, and not the username@uib.no, as most accounts are. Please provide the correct mail when you make the request, and remember this for the login later on.
Getting started with Insync and OneDrive for Linux
- 1: Visit https://www.insynchq.com/ and select Download.
- 2: Select Ubuntu, 18.04, 64 bit installers.
- 3: Save the file where you can find it.
- 4: Open the file with "Software Install".
- 5: Click "Install".
- 6: Autenticate if needed
- 7: Access and run the installed software.
- 8: Select "Add OneDrive".
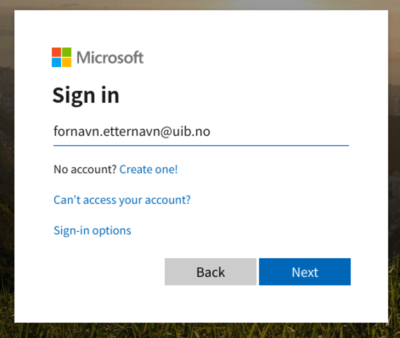
- 9: Autenticate with firstname.lastname@uib.no
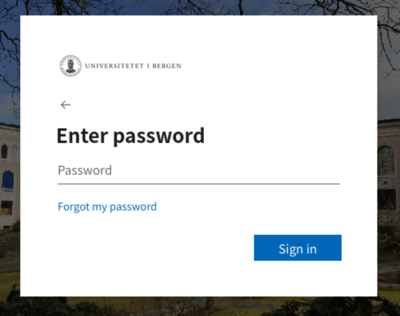
- 10: Enter your regular UiB-password.
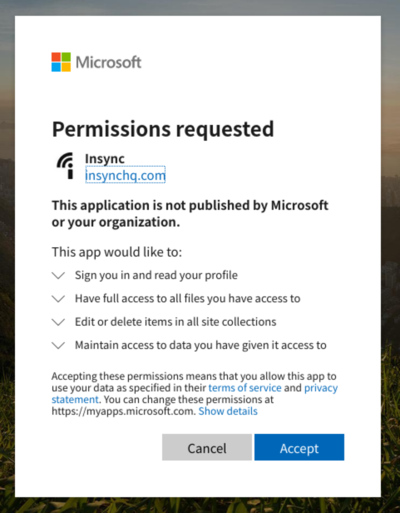
- 11: Click "Accept" if you are alarmed that software requires rights.
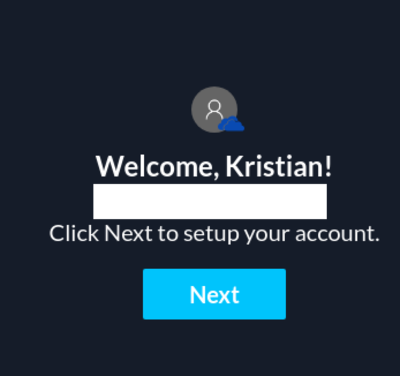
- 12: You are now ready to synchronise your OneDrive.
- 13: Name the path where you'd like OneDrive to sychronise files.
