OneDrive
OneDrive is a file-hosting service from Microsoft. In such it shares a lot of similarities with other cloud storage services you might be familiar with, like Dropbox, Google Drive and Jotta Cloud. The main difference with OneDrive though, is that it's only a part of a suite of online services, heavily integrated with Office 365. With OneDrive you can both share and store your files from one location online, and synchronize them to all your devices, including your PC, tablet and phone. You can create and work on new documents online, alone of together with colleagues, and edit them from any device, anywhere.
Even though this creates new possibilities for cooperation and workflow, you might face some challenges keeping control of the different versions of your documents, synchronizing to your various devices. That's why we've collected this information for you, offering some tips to make your transition to Office 365 and OneDrive as painless as possible. These pages will be under constant development, and we greatly appreciate any input you might have, whether you have suggestions for changes or you find missing or outdated information. We would also like to recommend that you log in to office.365.uib.no to download and install Office 365 to your personal device here
Windows
Installation
If your computer is running Windows 10, you will already have OneDrive installed. However, if you have Windows 7 you will have to download and install the OneDrive client found here This client makes it possble for you to synchronize your files, both between your devices, and OneDrive online nett. This has a number of advantages, not least of which are backup and sharing files that we'll cover in detail later.
Logging In
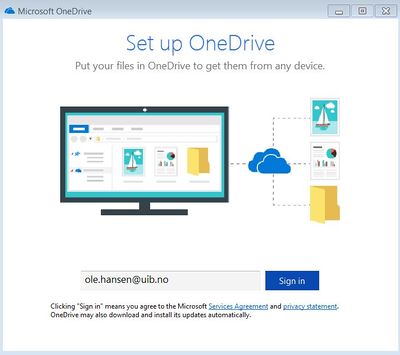
1) Run the "setup"-file, and fill in your username@uib.no.
You will be forwarded to this page, where you should select Universitets- og høyskolesektoren
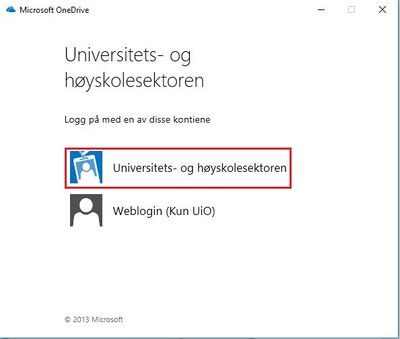
2) Log on with username@uib.no or e-mail address 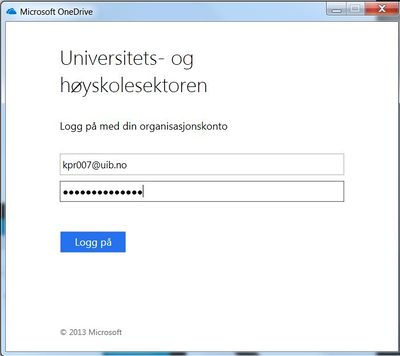
3) Select 'next' and you will be asked which files and folders you would like to synchronize. If you are familiar with using cloud storage as a service, you might find choose to only synchronize some of your files or folders. 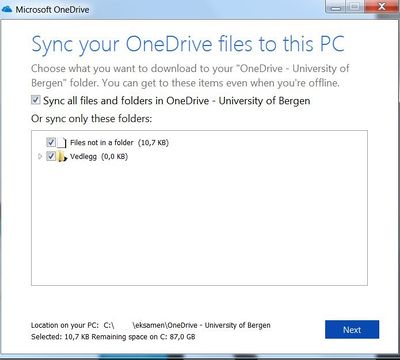
4) If the installation is successful you'll find a small blue cloud icon in your taskbar 
Installing the client creates a local folder on your device called OneDrive – University of Bergen.You can access this either by clicking the icon in the taskbar; the start menu, or file explorer. The folder will look like this: 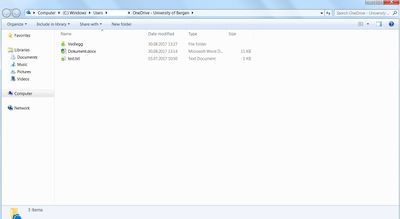
How to use OneDrive
If you have previous experience with Dropbox or similar services, you'll find OneDrive familiar starting out. However, there's an abundance of integrations and possibilities that goes beyond that of regular cloud storage. Here we'll look at some of the key features that we think you might use.
Synchronizing
When you work on your files locally on your device, they will be automatically synchronize with OneDrive and your other devices when you are online. Files that have been synchronized will show with a green checkmark, while files being uploaded are marked with blue arrows 
Below you'll see the context menu (when you right click) of a file in the OneDrive folder. In addition to the regular editing options, you also have ‘Share’, ‘View Online’ and ‘Choose OneDrive folders to sync’
Sometimes it might be a good idea to turn off synchronizing for some files or folder. Files that you rarely use, for example large archives with media or picture files, especially if you have poor internet connection. Your files will be accessible online at any rate, and you can chose to synchronize them later. 
OneDrive Online
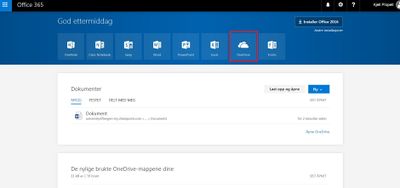
You can work on your files both locally or online. For example, if you chose 'View Online' from the context menu (right click) of the file in your folder locally, it will be opened in Office 365 in your browser. Here you'll find a host of familiar office tools, and much more. You'll also find an overview of files you've recently been working on, files that are shared with you. You can create new files and folders, upload or synchronize to your devices.
Cooperation
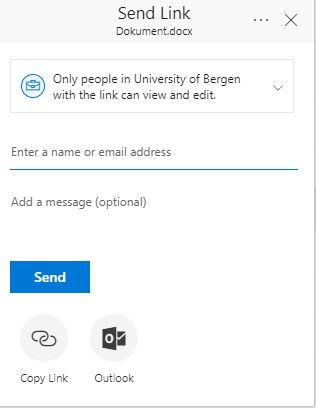
One of the main strengths of Office 365 and OneDrive is the ability for cooperation, interacting with your colleagues. You can share and work on documents in real time. To share your document you can right click and choose 'Share' from the context menu. This menu shown below will open:
Start entering the name of the person you want to share with, and choose one or more. Your document will be shown as shared like in the picture below.

You can manage the access to your documents yourself, simply by marking the document and click the information icon to your right, or right click for the context menu.. 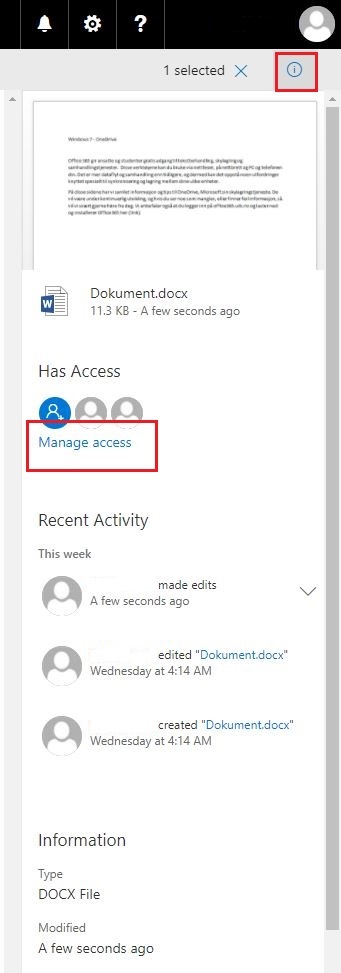
Here you can manage access, adding or removing persons, plus some advanced sharing options which is beyond the scope of this guide. 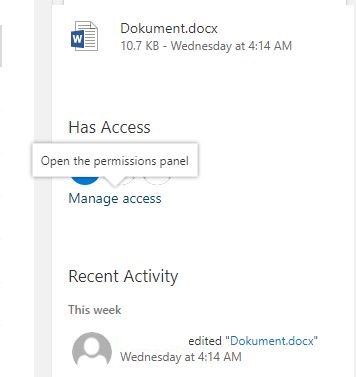
Legge til personlig konto
Med den nyeste OneDrive klienten så kan man også legge til sin personlige OneDrive konto, slik at man også har mulighet til å ha den tilgjengelig. Du vil da ha to OneDrive mapper på PCen din.
Klikk på OneDrive ikonet i oppgavelinjen og klikk på tannhjulet oppe til høyre.
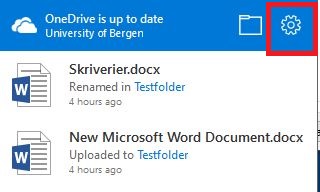
Den åpner menyen, og du finner ‘Add Account’ under ‘Account’ fanen
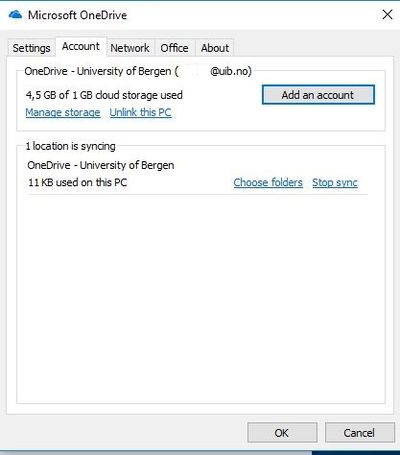
Logg på med den personlige kontoen din, og legg den til. Den vil nå vise som et hvitt skyikon i oppgavelinjen.
Mac
Installation
Download and install OneDrive from https://go.microsoft.com/fwlink/?linkid=823060
Logon
Sign in with the following:
student: username@uib.no
employee: firstname.lastname@uib.no
Use
See this page for best practice use of OneDrive
